Formally known as Secure Sockets Layer (SSL), nowadays it has become increasingly important as a result to keep data protected by establishing an encrypted link between a server and a client.
This is the first in a series of posts about Using SSL on a Sitecore environment, I hope you enjoy it.
In today’s post, I’ll show an overview of SSL, how to create a self-signed certificate and import on IIS.
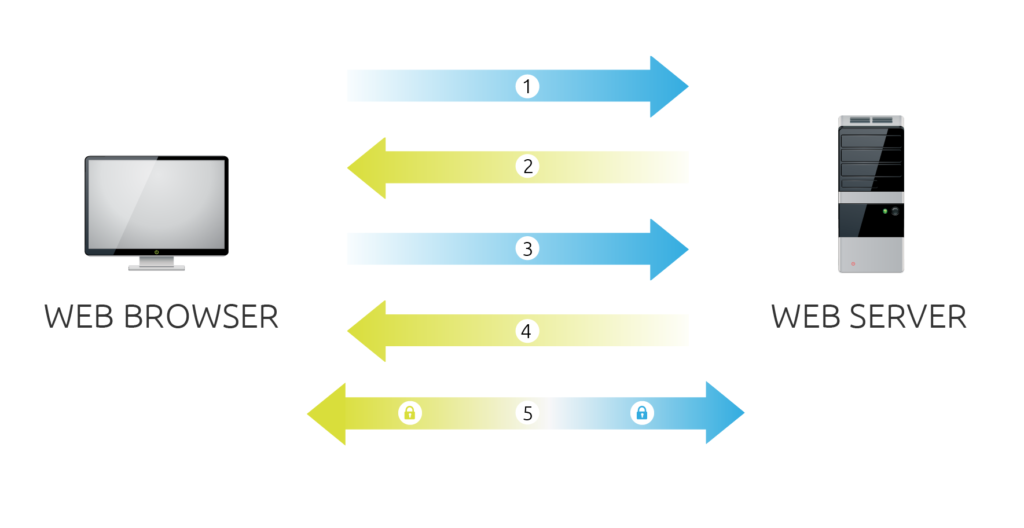
A handshake says it all
The processes running behind the scenes when you attempt to access a secure website is known as SSL Handshake. And as you can see illustrated below, there are 5 steps to establish a secure connection between client and server.
Many flavors, but only one purpose: protect your data!
You will find SSL in a number of different flavors (Wildcard, SAN and etc) , each with their own particularities, so choose them accordingly to your organization needs.
- Single Domain
Only a single domain is protected, for example yourdomain.com
- Subject Alternative Names
Multiple domains in the same certificate, for example yourdomain.com and differentdomain.com
- Wildcard
All domain secured, for example *.mydomain.com secures www.mydomain.com and services.mydomain.com
Trust in yourself
You can always rely on self-signed certificates to replicate in your own environment the effect of SSL can cause in your website! However, keep in mind that others won’t trust you as you do – which means that you MUST avoid use self-signed in production solutions.
You probably saw many self-signed creators, and since Windows 8 there’s a cmdlet in Powershell called New-SelfSignedCertificate that gives a easier experience to create self-signed certificates than any other tool.
In order to use the follow commands, you must have at least Windows 8
Step 1 – Create a Self-signed certificate
1. Run Windows Powershell as Administrator
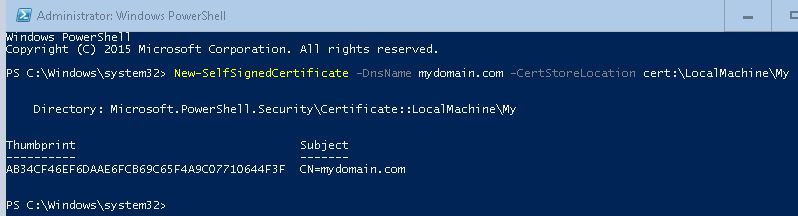
2. Type the follow command, then hit enter
New-SelfSignedCertificate -DnsName mydomain.com -CertStoreLocation cert:\LocalMachine\My
3. You should receive a similar output, as you can see in the image below
Step 2 – Use Self-Signed Certificate on IIS
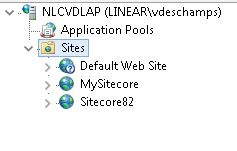
1. Open IIS, expand sites
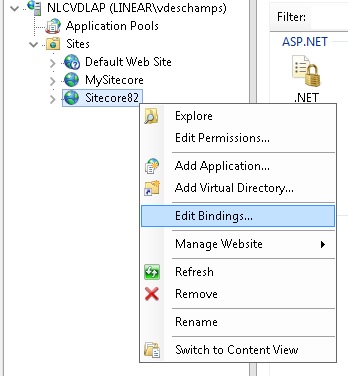
2. Select the Site you want to use Self-Signed certificate, right-click on it then Edit Bindings
3. In Site Bindings, click Add
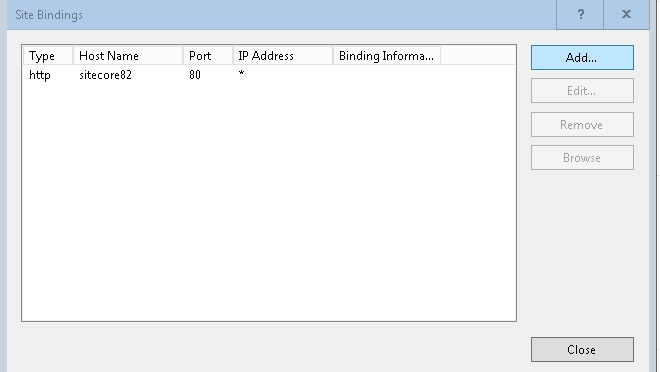
4. In Add Site Binding, choose Type HTTPS and on SSL certificate choose the certificate create in Step 1, and click Ok then Close (Site Bindings window)
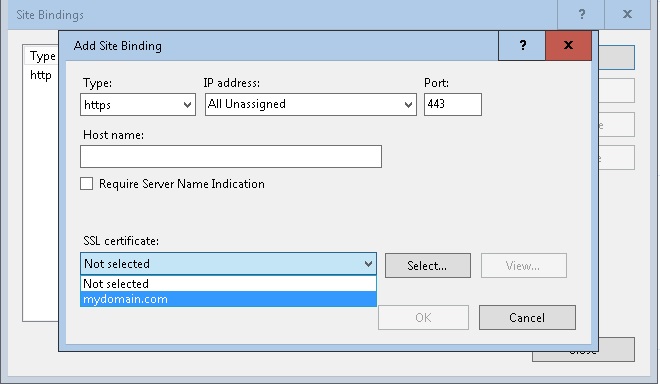
Please note that I already have mydomain.com in my hosts file (C:\Windows\System32\drivers\etc\hosts) pointing to 127.0.0.1
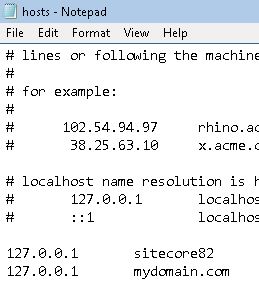
5. Go to your browser and access your website using the domain used on –DnsName parameter on Step 1, in my case was mydomain.com, so https://mydomain.com

Step 3 (PLUS!!!) – Export Self-Signed certificate as PFX file with a password
In case you want to install on another machine or send to a colleague
1. In the same Windows Powershell, copy Self-Signed Thumbprint and keep it (in my case AB34CF46EF6DAAE6FCB69C65F4A9C07710644F3F)

2. Create a password using the following command
$sslPassword = ConvertTo-SecureString "P@ssw0rd" -Force -AsPlainText
3. Export the certificate as PFX file using the command below
Export-PfxCertificate -Cert cert:\LocalMachine\My\AB34CF46EF6DAAE6FCB69C65F4A9C07710644F3F -FilePath C:\temp\mydomain.pfx -Password $sslPassword
4. You should receive a similar output, as you can see in the image below

5. Navigate to the folder you saved the PFX file and check if it was created. In my case, it was on C:\temp

Step 4 (PLUS!!!) – Stop receiving SSL errors with Self-Signed certificates
1. Execute the Step 3 and get yourself a PFX file
2. Press Windows+R to open Run, type mmc in the empty box and click Ok
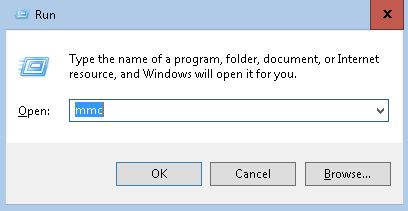
3. Click Yes in the User Account Control window
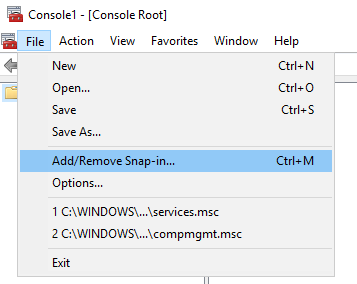
4. On the File menu, click Add/Remove Snap In
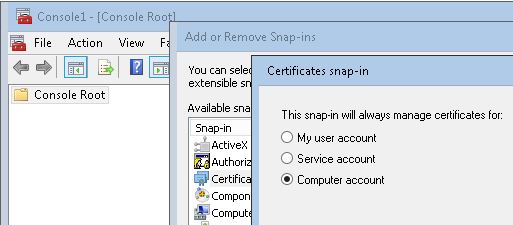
5. Under Available snap-ins, double-click Certificates

6. Select Computer Account, and then click Next
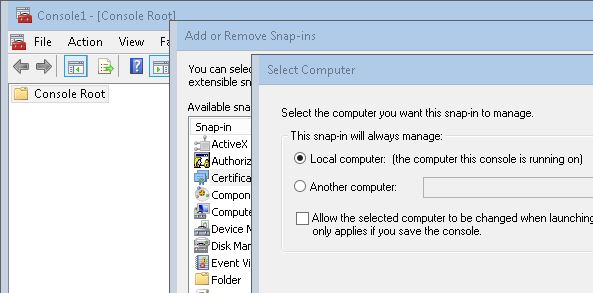
7. Keep Local Computer on Select Computer window, and then click Finish
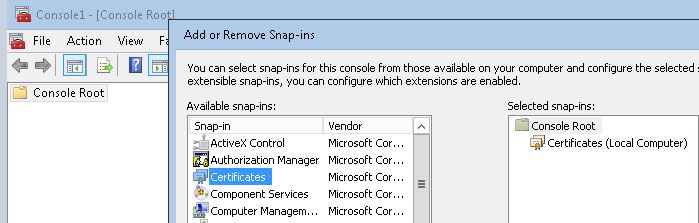
8. Click Ok on Add or Remove Snap-ins
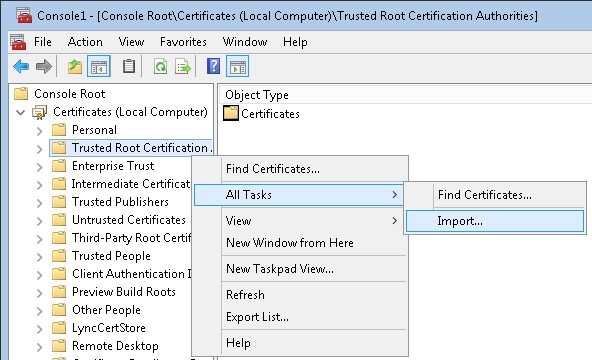
9. Expand Certificates, find and right-click in Trusted Root Certification then choose Import
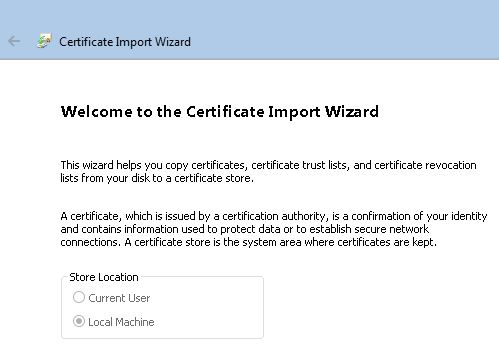
10. Welcome to the Certificate Import Wizard screen, click Next
11. File to import window click in Browse…
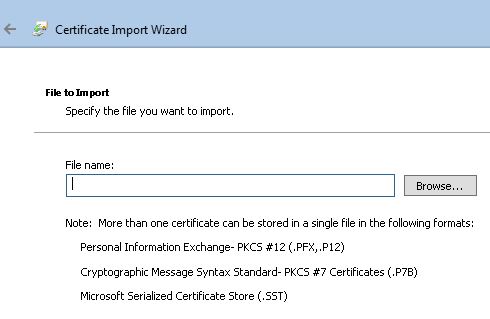
12. At the bottom right change the Certificate file to Personal Information Exchange (*.pfx, *.p12)

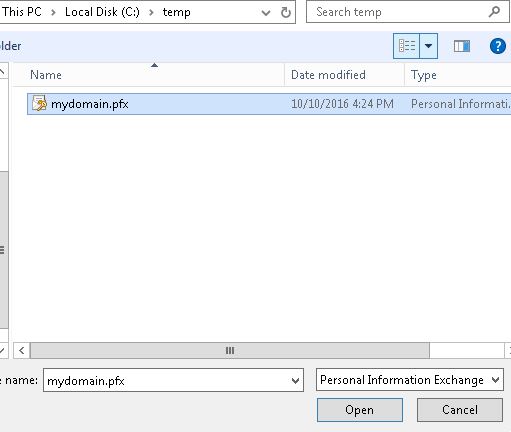
13. Navigate to the folder where you exported the PFX file in Step 3 and select it, and then click Open
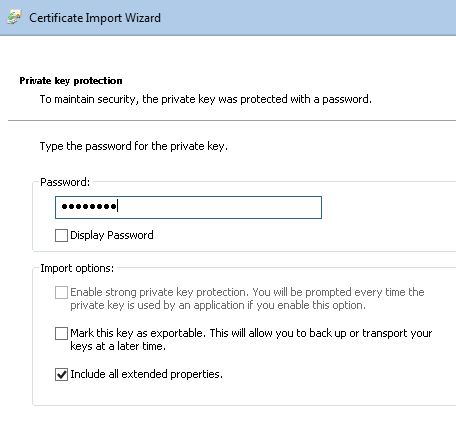
14. Private key protection window, type the same Password you used to export the PFX file in Step 3 and click Next
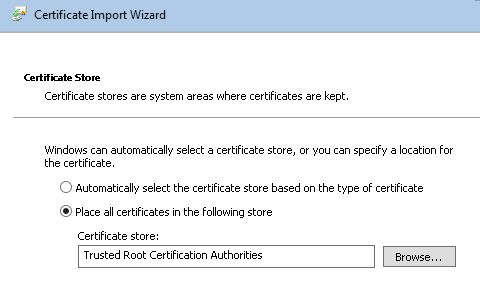
15. Double check the certificate will be placed at Trusted Root Certification Authorities, and click Next, then Finish
16. Restart any browser you have open, and test again
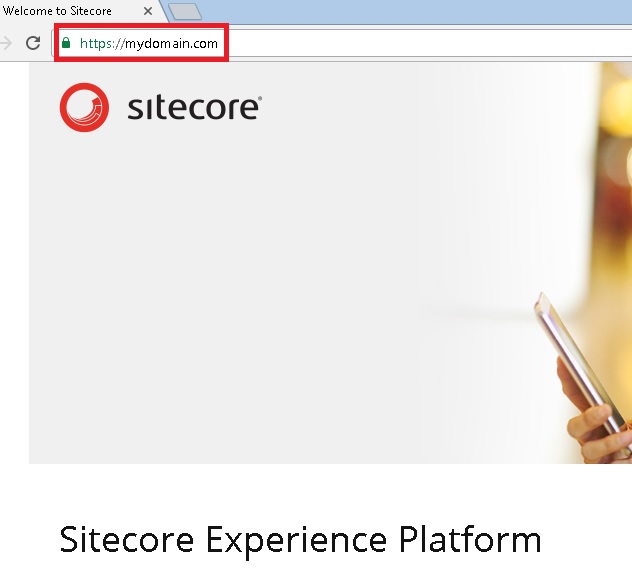
Voilá! You are not seeing the error anymore!
Thanks for reading, and I hope you enjoyed!
I’ll see you on the next post!