Sitecore
Using Valid Certificates to Configure MongoDB for SSL/TLS
I was told to configure MongoDB for SSL/TLS for a production environment which means I would have to use VALID CERTIFICATES!
And as I wanted to go fancy, I choose to setup MongoDB with Certificate Validation that requires the creation of two .pem files – one to use as PEMKeyFile and as CAFile parameters in my Mongo configuration file.
Accordingly to MongoDB’s tutorial page, here is what you need to know about them
- PEMKeyFile with the name of the .pem file that contains the signed TLS/SSL certificate and key.
- CAFile with the name of the .pem file that contains the root certificate chain from the Certificate Authority.
The first thing to do is to work with the valid certificate you have, usually a PFX format which contains the Public Key and the associate Private Key.
Exporting PFX
Working with certificates sometimes is tricky, I’d recommend to use DigiCert® Certificate Utility for Windows which I use on my daily basis and it is a time-saving tool! Or you can use OpenSSL – that is another GREAT tool.
Moving on… assuming you already downloaded, executed DigiCert Certificate Utility, and that your PFX is already installed in your machine, let’s continue
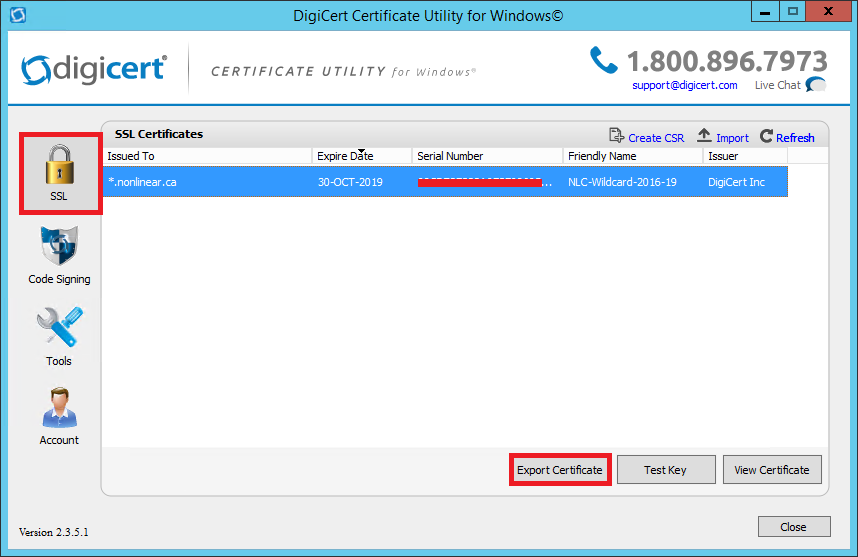
1. In the DigiCert Certificate Utility for Windows©, click SSL (gold lock), select the certificate that you want to export as a .pfx file, and then click Export Certificate.
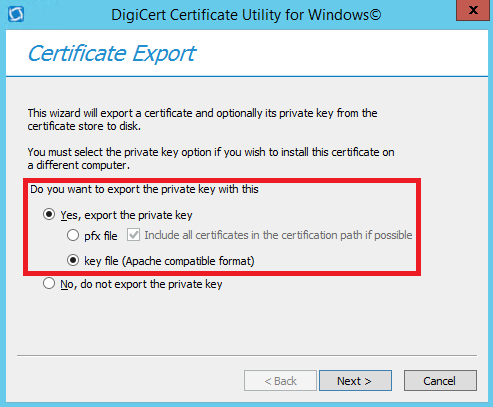
2. In the Certificate Export wizard, select Yes, export the private key, select key file (Apache compatible mode), and finally click Next
3. Choose a location and file name where you want to save the key file, click Save, and then, click Finish

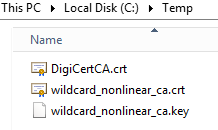
4. Navigate to the location you saved, note that the folder should contain the Public Key (wildcard_nonlinear_ca.crt), Private Key (wildcard_nonlinear_ca.key) and Intermediate Certificate (DigiCertCA.crt)
PEMKeyFile
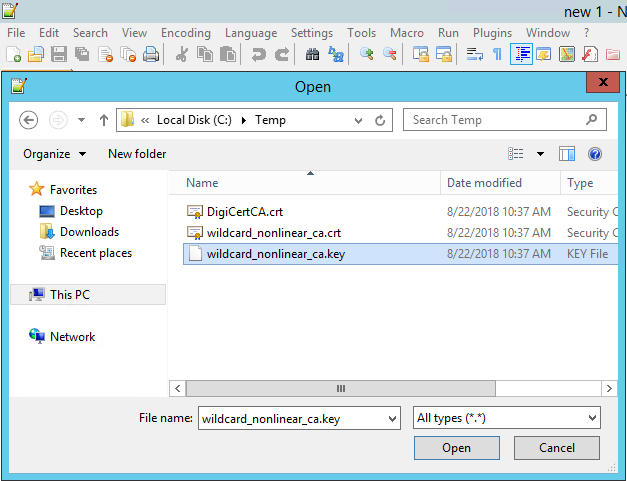
In order to generate the PEMKeyFile we will have to use Notepad++ or any other text editor of your preference.
- Navigate to the location where are the exported keys, and open the Private Key – in my case wildcard_nonlinear_ca.key
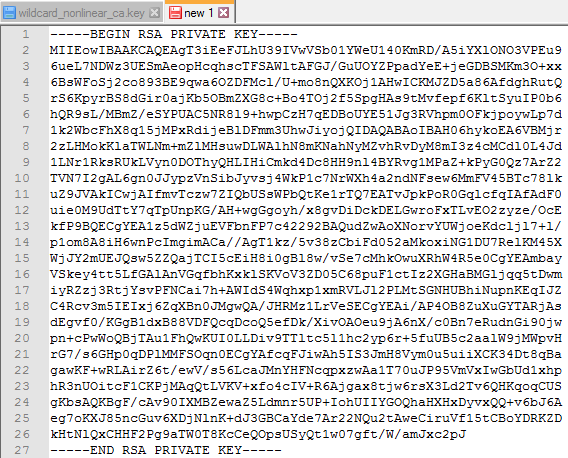
2. The Private Key should looks like this
3. Copy the entire body of this certificate, including —-BEGIN RSA PRIVATE KEY—- and —-END RSA PRIVATE KEY—-
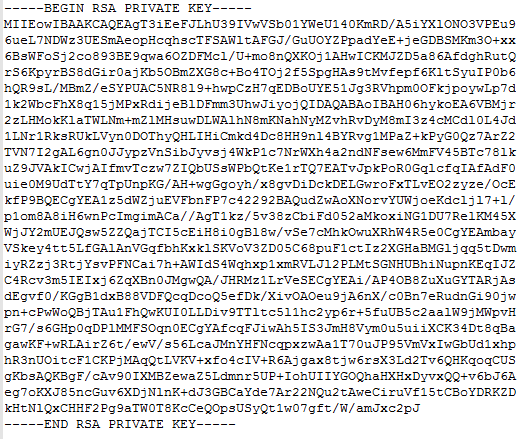
4. Open a new tab (or a new text editor), and paste the content you just copied
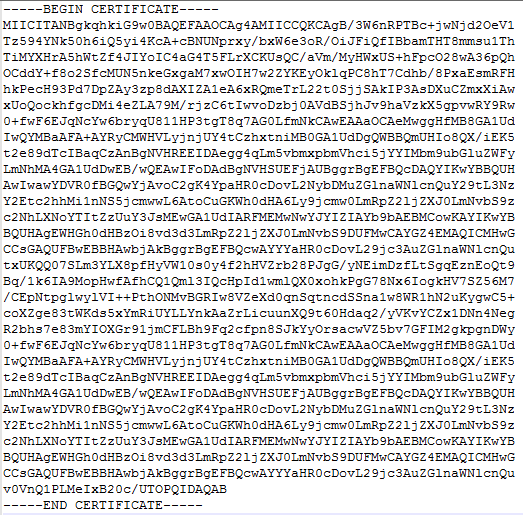
5. Now, let’s open the Public Key (wildcard_nonlinear_ca.crt) that should look like as follows
6. Copy the entire body of this certificate, including —-BEGIN CERTIFICATE—- and —-END CERTIFICATE—-
7. Go to the new text you just created (step 4), and paste the Public Key content in the next line after —-END RSA PRIVATE KEY—-
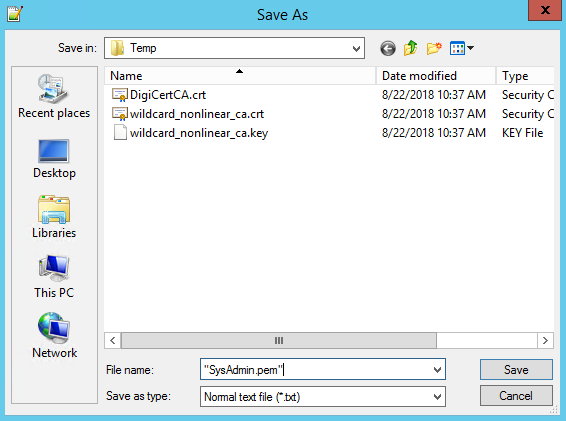
8. Then save this document as .pem file
CAFile
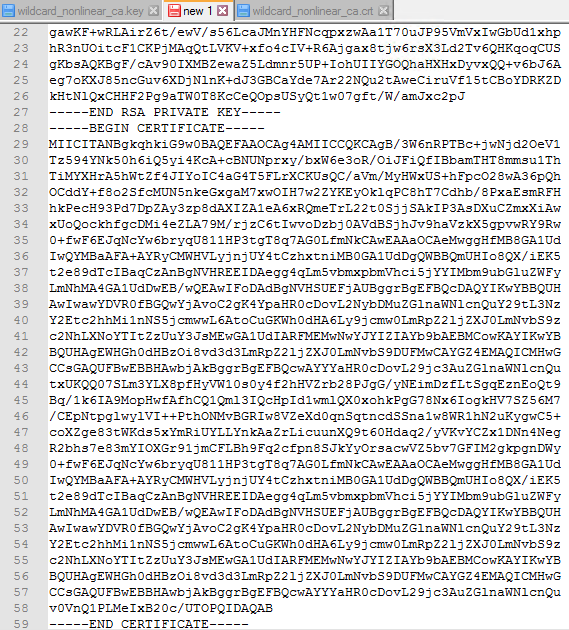
The process is pretty much the same listed for the PEMKeyFile, however, the CAFile must have the Root Certificate on it as well. Please ensure to keep the following order:
- The Private Key (wildcard_nonlinear_ca.key)
- The Primary Certificate (wildcard_nonlinear_ca.crt)
- The Intermediate Certificate (DigiCertCA.crt)
- The Root Certificate – you should be able to get it directly from the place you issued your certificate, in my case it is named TrustedRoot.crt
Make sure to include the beginning and end tags on each certificate, then save the using .pem extension as well.
MongoDB configuration
Assuming you already have a MongoDB up and running, in order to enable SSL/TLS you must change couple things on the mongod.cfg
net:
ssl:
mode: requireSSL
PEMKeyFile: F:\ssl\SysAdmin.pem
CAFile: F:\ssl\ca.pem
Once you modified it, try to stop/start the MongoDB service and ensure it backs up.
To connect to MongoDB from now on using CMD, you should include the following options
- –ssl
- –host
- –sslPEMKeyFile
- –sslCAFile
mongo –ssl –host mongodb.mydomain.com –sslPEMKeyFile F:\ssl\SysAdmin.pem –sslCAFile F:\ssl\ca.pem
Sitecore connecting to MongoDB using SSL
I’ve raised the question on Sitecore.Stackexchange and Hishaam Namooya, and Amitabh Vyas were able to address my problems.
Amitabh Vyas said that
OOTB Sitecore does not communicate with Mongo using SSL, we need to implement a custom pipeline for such communication.
Customize the
Sitecore.Analytics.MongoDB.Configby defining a new Pipeline.Now you have two approaches to establish SSL connection between Mongo and Sitecore.
- SSL Integration using physical PFX file
- SSL Integration reading Machine Key
Please have a look at my blog post for more details.
I hope you liked it, and thanks for reading!
And I’ll see you on my next post!