This is the second part in a series of posts about Using SSL on a Sitecore environment, I hope you enjoy it!
On my previously post, you saw an overview of SSL, how to create a self-signed certificate and couple tips & tricks for it!
In today’s post, I’ll share some experience while setting up IIS using Multiple Certificates.
The eternal fight – IIS vs SSL
When SSL comes to play, IIS always had limited options for it specially if you were looking to use more than one SSL per website.
Help, I am lost! (workarounds)
Far be it for me to tell it doesn’t work, definitely works! However, you should be careful when and where use them.
The truce – Server name Indication (SNI)
Since IIS 8 there’s a feature called Server Name Indication (SNI) which allows to use multiple SSL on the same website by using the certificate’s Common Name.
Well, let’s see!
Step-by-Step
IMPORTANT: Please note that I am using a self-signed certificate. If you want more information how to generate your own, please check Sitecore – Using SSL Part 1 post!
Scenario – Multiples SSL under the same website
Assuming you have two or more certificates, let’s say mydomain.com & yourdomain.com how would you setup your environment? Follow me
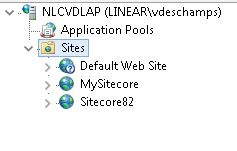
1. Open IIS, expand sites
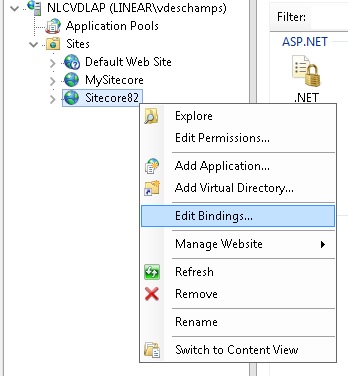
2. Select the Site you want to use the Multiple SSL, right-click on it then Edit Bindings
3. In Site Bindings, click Add

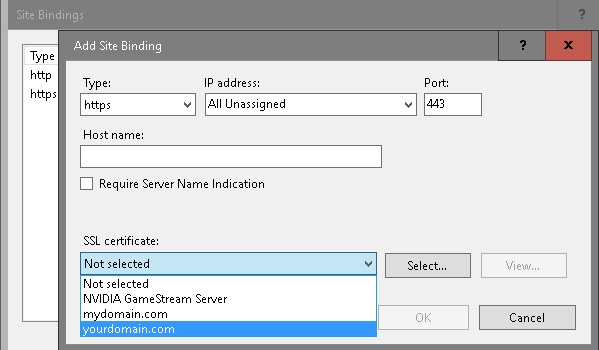
4. In Add Site Binding, choose Type HTTPS and on SSL certificate choose the certificate (previously created), and click Ok then Close (Site Bindings window)
I have received an error, as you can see below
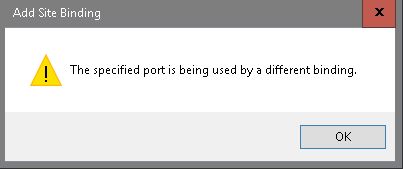
If you back to Step 3 in this scenario, you will notice that I already have a binding on HTTPS from my previously post

So, click Ok in the warning window, cancel the Add Site Binding window, and then back to Site Bindings, select the https entry and click Edit
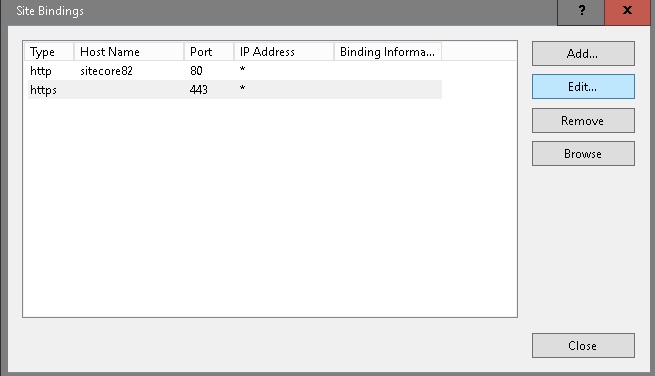
As you can see, the only thing which differs mydomain.com entry from yourdomain.com we were doing is the SSL certificate.

Accordingly to IIS documentation
Web sites hosted on the same server can be distinguished using the following unique identifiers
- Host header name
- IP address
- TCP Port number
Our host header is blank, our IP is the same and the TCP Port as well, fair enough we got the warning message!
Well, as mentioned before, have you seen the box Require Server Name Indication? Let’s check it and type on Host name mydomain.com, then click Ok
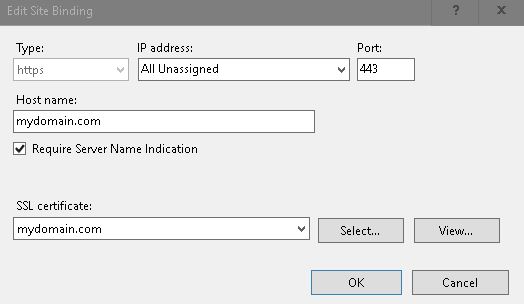
Now, this is what I can see in Site Bindings window, why don’t we back and try add yourdomain.com in the same way?

5. In Site Bindings click Add, and Add Site Binding window shows up again; Choose HTTPS for Type, choose SSL Certificate (yourdomain.com), mark Require Server Name Indication and type yourdomain.com in Host name field, and then click Ok and Close in Site Bindings
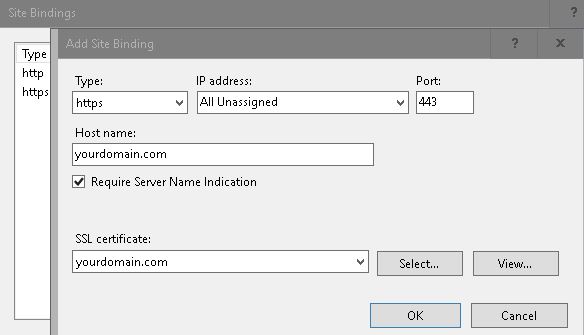
Excellent! No errors, warnings, nothing! Let’s test it!!!
Please note that I already have mydomain.com and yourdomain.com in my hosts file (C:\Windows\System32\drivers\etc\hosts) pointing to 127.0.0.1
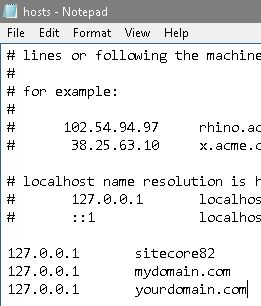
Open a browser, and type https://mydomain.com
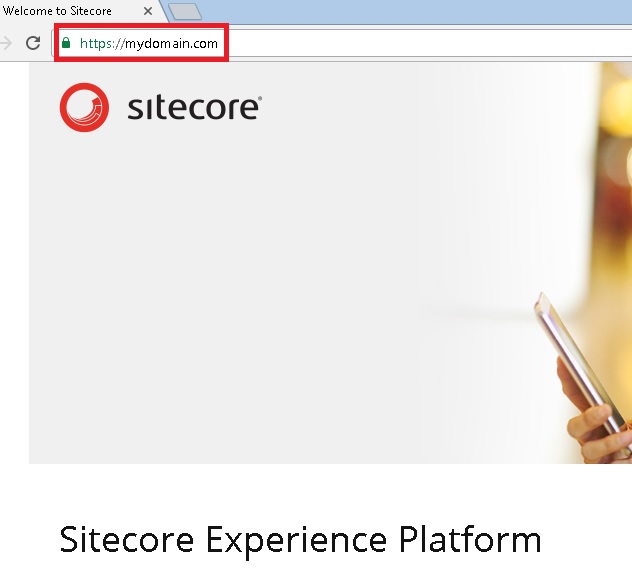
Great! It worked, now let’s check yourdomain.com. Type https://yourdomain.com
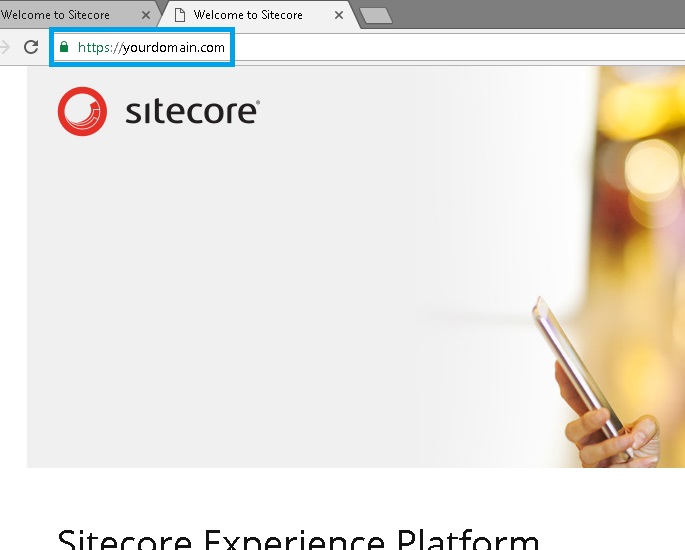
It also worked! That’s excellent!
I hope you liked it! Thanks for reading, and I’ll see you on my next post!
