How many Sitecore instances have you installed already? Have you lost the number, haven’t you? And you know better than me that it becomes an automatic process you almost don’t see what you’ve done, and BAM everything is installed, LET’S DEPLOY ALL SITECORE ON THIS SERVER!!!!!
If you have been following this series posts of Sitecore Installation – Tips and Tricks, that’s the time I say “Not so fast buddy!” – for those who doesn’t remember here #1, and here #2.
At very first moment a Sitecore installation looks straight forward – and it is – however in the same proportion we get confident about our process, our knowledge in Sitecore then BAM – *fell of the chair* – a huge error shows up and you feel bad! Now, put yourself on the scene above under pressure…. Yeah, here it is the time to separate men and women from the boys and girls!
So, hoping you don’t have a heart attack nor panicking, relax! Then, breathe calmly, put your head to think and follow me!
Here is our story, you just received an e-mail from your manager saying
Hi, I am glad to announce a new Sitecore project, and for the first time we’ll take care of it since beginning. Which means we are going to install the server from scratch and deploy our Sitecore deployment on client’s environment.
Also, you have received a second e-mail with all information for remote access, credentials and “your username has Administrator privileges on all servers”.
Super! Now, let’s assume you have walked through and installed the requirements to run a Sitecore Instance.
(Now, you and me will have a quick dialogue)
- YOU : Perfect! Everything installed, will let my manager aware and go home. It has been a long week.
- ME : Sorry to act as the bad guy here, have you tested the Sitecore installation?
- YOU : No, why you ask? Everything was installed, no errors and I already send an e-mail to my bo…. – *long pause* – “CRAP!!! An e-mail from my boss saying that nothing loads! What went wrong??!?!!? It was a very straight forward process..
- ME : Well, I know isn’t the best moment, but never forget “Not so fast buddy” post #1 of this Sitecore Installations – Tips and Tricks series.
Alright, we don’t have another option other than troubleshoot the installation! Let’s do it!
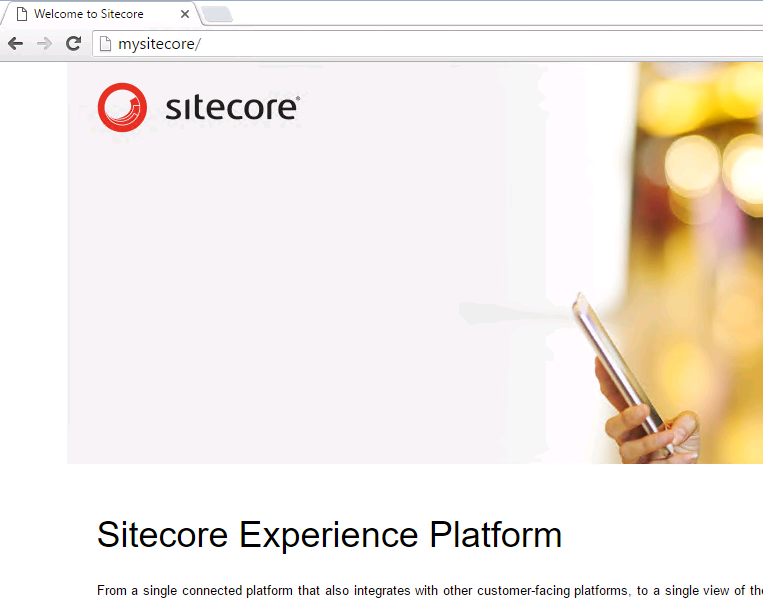
Go ahead and access the server, then try access the Sitecore page
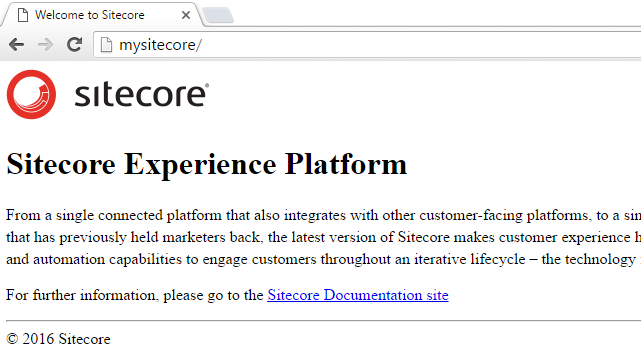
I believe you should remember that this page used to have an image and better styles and fonts. Can you check /sitecore page?
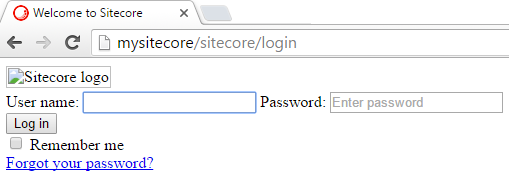
Weird! I’m seeing that you are using Chrome, press F12 and choose Elements, then find the broken Sitecore Logo
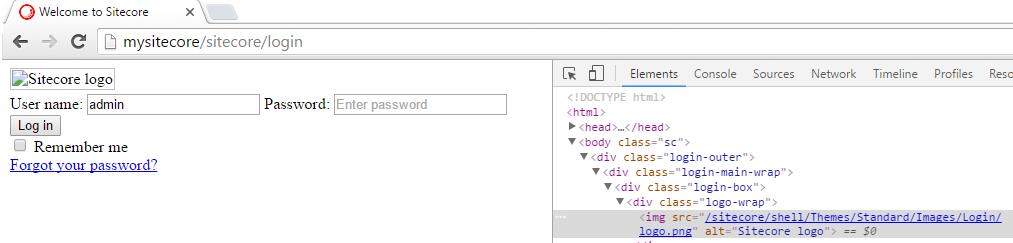
Now that you know where the PNG path, browse the full path: http://mysitecore/sitecore/shell/Themes/Standard/Images/Login/login.png

Hmmm! Well, a good sign here as we don’t get a deny neither a 404 page, then we can confirm it isn’t a permission problem.
Looks like the static contents aren’t been shown! Interesting *thoughtful*
Oh WAIT! STATIC CONTENTS! THAT’S IT! Hey buddy, why don’t we try to install the Static Content feature under Common HTTP Features
YOU : Hmmm Okay! How?
Follow me!
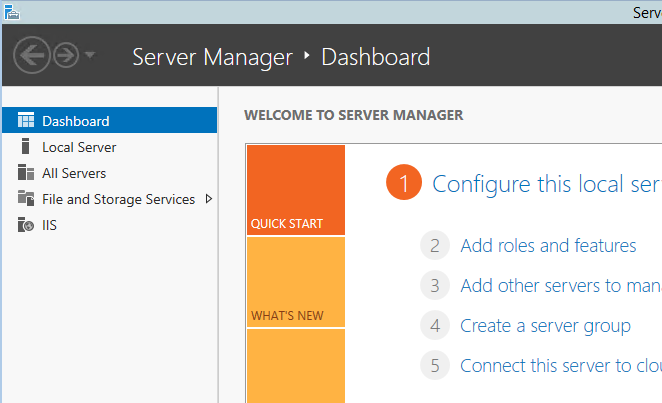
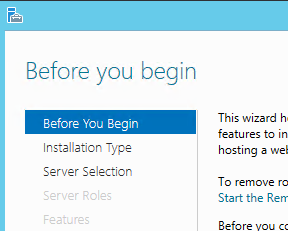
- Open Server Manager, then click on Add Roles and Features
- On Add Roles and Features Wizard Window, click Next on Before you begin step
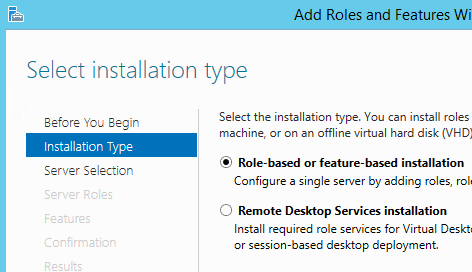
- Installation Type step, make sure the option Role-based or Feature-based installation is select and click Next
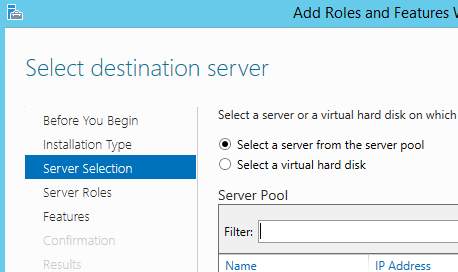
- Server Selection step, double check if it is the correct server and click Next
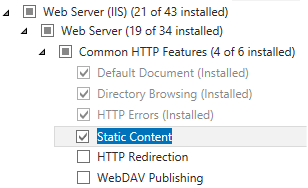
- Server Roles step, find Web Server (IIS) and navigate to Web Server > Common HTTP Features then look for Static Content

- Once you have found Static Content, check it and click Next
- Features step leave as it is and click Next
- Confirmation step, double check what will be install and click Install
- Once installation finishes, back to browser and navigate to your Sitecore instance
Well, before you say something… Check again pressing CTRL+R or a simple F5 🙂
Finally! Now, call your boss and say that you FIXED IT!
And never forget “Not so fast buddy” 🙂
Thanks for reading and I’ll see you in my next post!